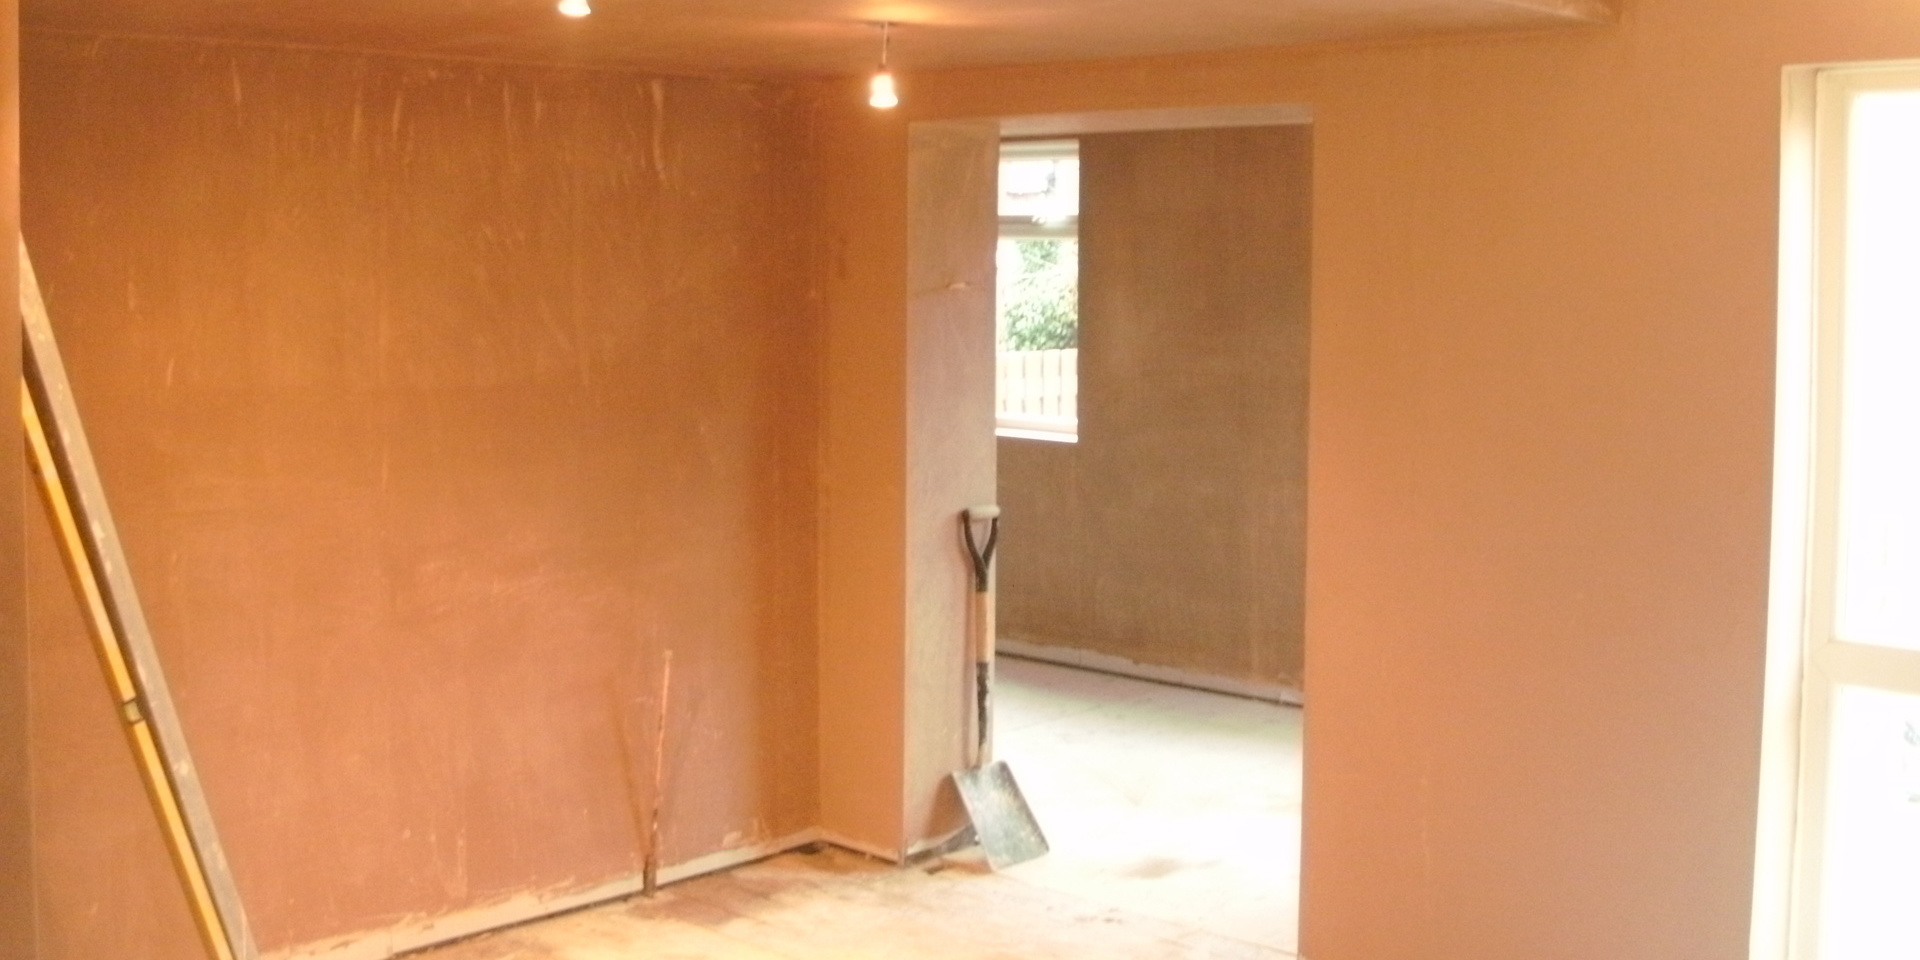
Plastering! Whats it all about?
Posted on 9th May 2023 at 09:53
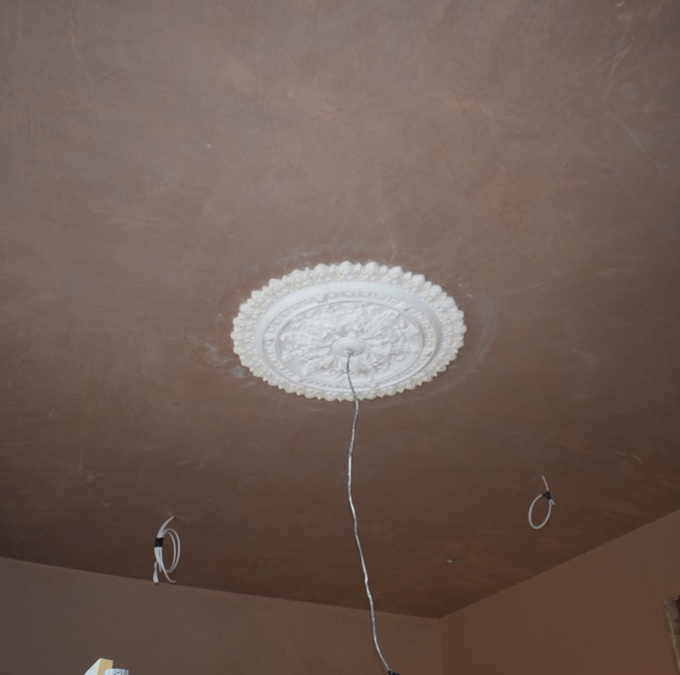
Plastering is a common building technique that involves applying a layer of plaster to a surface, typically a wall or ceiling, to create a smooth and even finish. This technique is commonly used in both commercial and residential construction, and can be done by both professionals and DIY enthusiasts. In this blog post, we will provide an overview of the plastering process, as well as some tips for achieving a professional-quality finish.
Types of Plaster
There are several types of plaster that can be used for different applications. Here are some of the most common types of plaster:
1. Gypsum plaster: This is a common type of plaster that is made from gypsum powder and is commonly used for interior walls and ceilings.
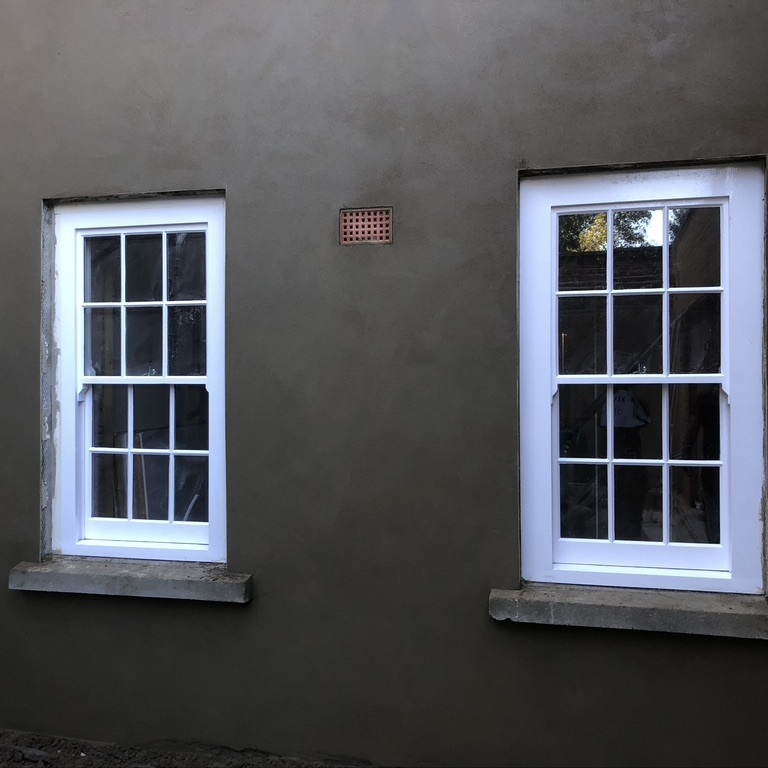
2. Lime plaster: Lime plaster is made from a mixture of lime, sand, and water, and is often used for exterior walls.
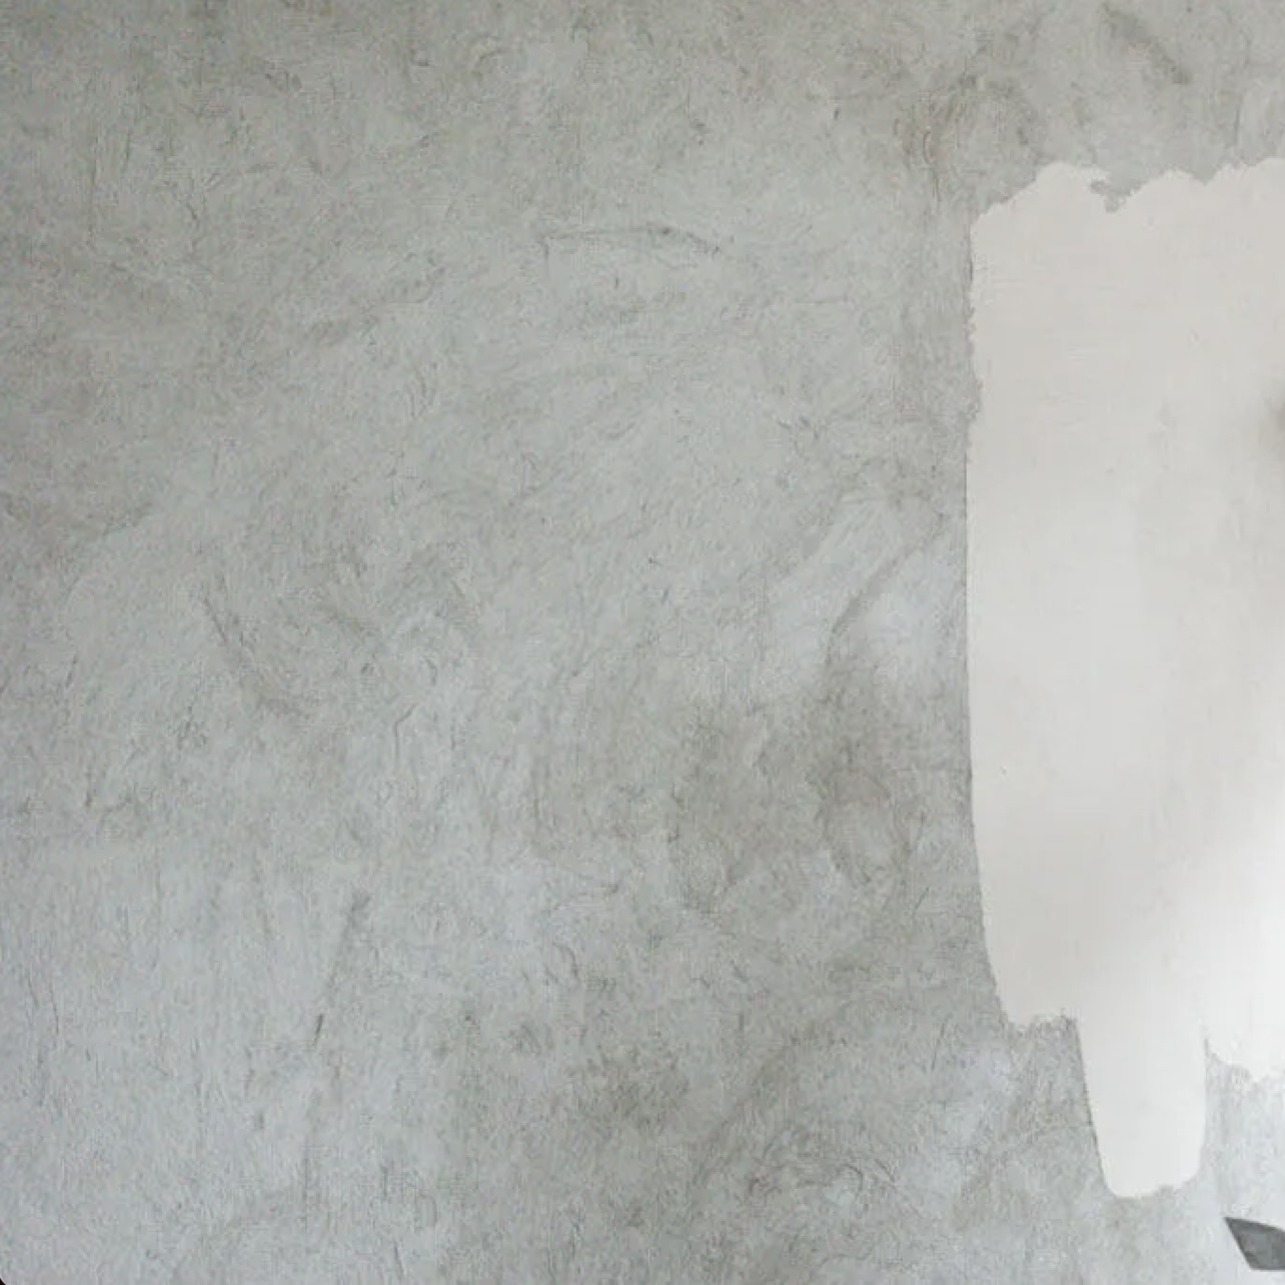
3. Cement plaster: This type of plaster is made from a mixture of cement, sand, and water, and is commonly used for both interior and exterior walls.
4. Clay plaster: Clay plaster is made from natural materials, such as clay, sand, and straw, and is commonly used for interior walls.
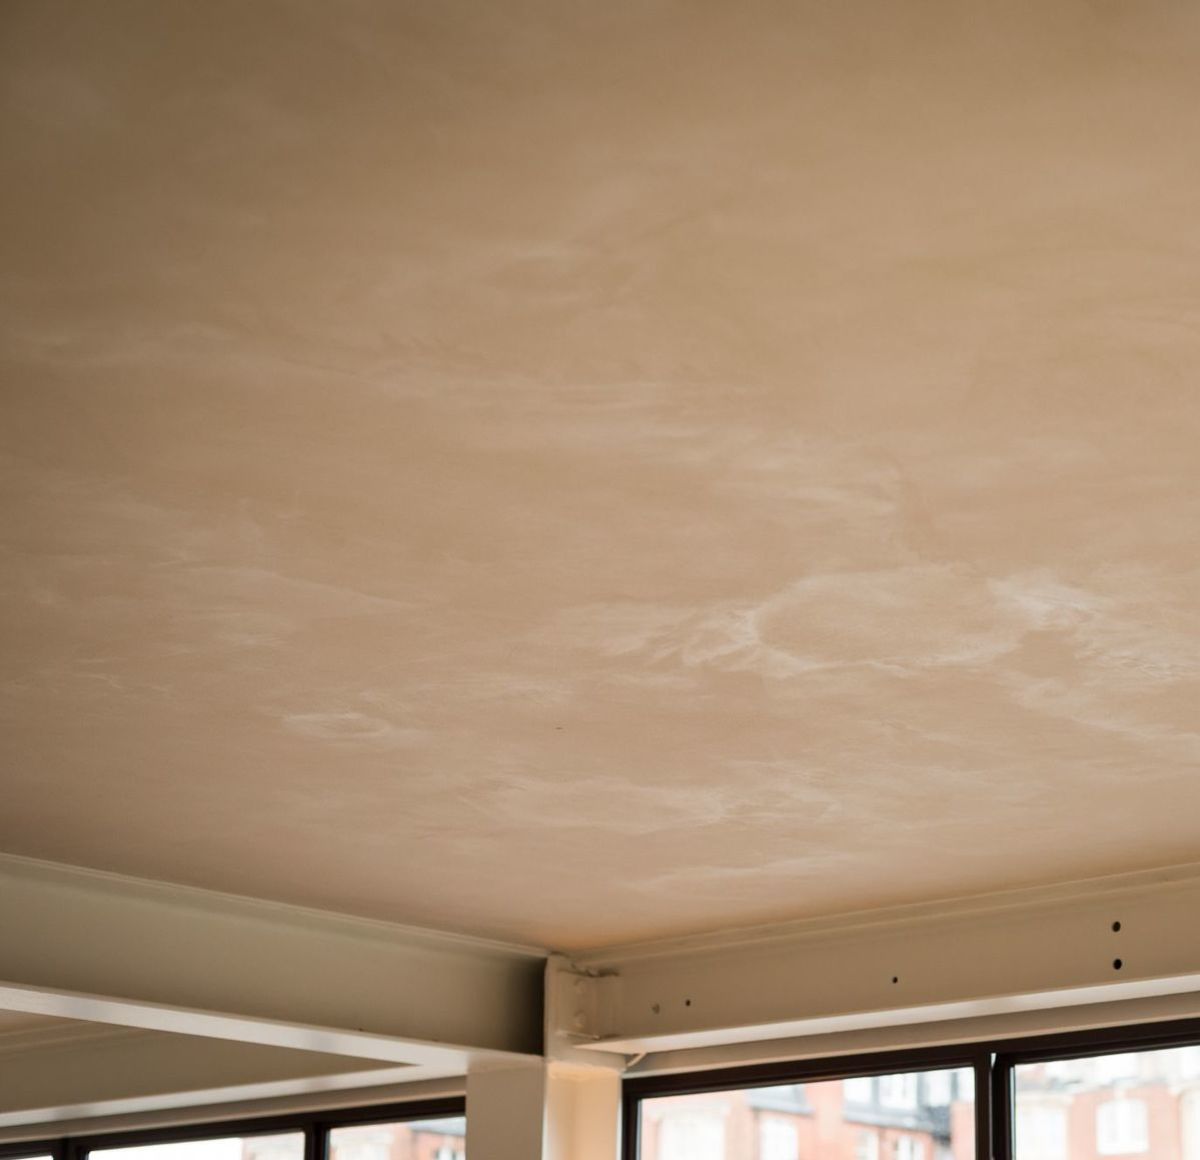
The Plastering Process
Before you start plastering, it's important to ensure that the surface you will be working on is clean, dry, and free of any loose materials. You should also tape off any areas that you don't want to get plaster on, such as windows and door frames.
Step 1: Mixing the plaster
To begin the plastering process, you will need to mix the plaster according to the manufacturer's instructions. Depending on the type of plaster you are using, you may need to add water or a bonding agent to the mixture.
Step 2: Applying the plaster
Once the plaster is mixed, you can start applying it to the surface. You can use a trowel to apply the plaster in a thin, even layer. Make sure to work quickly, as the plaster will start to dry and become more difficult to work with over time.
Step 3: Smoothing the plaster
After you have applied the plaster, you can use a plastering float or a trowel to smooth it out and create an even finish. Make sure to work in small sections, as the plaster will start to dry quickly.
Step 4: Finishing the plaster
Once the plaster is smooth, you can use a damp sponge or a trowel to create a texture on the surface. You can also use a steel trowel to create a polished finish.he modern alternatives.
Tips for Achieving a Professional-Quality Finish
- Practice on a small section before attempting to plaster an entire wall or ceiling.
- Make sure to mix the plaster according to the manufacturer's instructions.
- Work quickly, as the plaster will start to dry and become more difficult to work with over time.
- Use a plastering float or trowel to smooth out the plaster.
- Finish the plaster with a damp sponge or steel trowel to create a polished finish.
- Clean your tools and equipment thoroughly after use to ensure they are in good condition for the next job.
In conclusion, plastering is a useful building technique that can help create a smooth and even finish on walls and ceilings. By following the tips outlined in this blog post, you can achieve a professional-quality finish on your next plastering project.
If you need any help or even advice with your plastering project, feel free to contact us to discuss your needs.
If you are looking for something special or a little different by using one of the styles of Venetian plastering, get in touch and talk to the team at Expert Plasterers.
*****
"Genuine guys, Experts at their trade. Highly recommended."
Matthew Corr, London
*****
"Very professional from start to finish.
Quality workmanship and helpful service."
Dolan Cummings, London
Share this post:


